Stuck On You: Name Labels for Kids, Name Stickers, Clothing Name Stamps and more
Labels
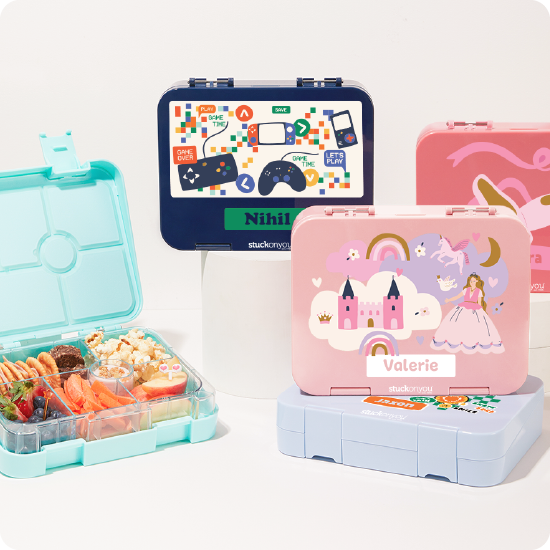
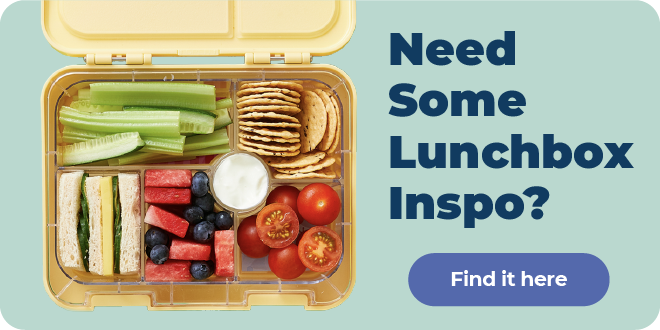
Eat & Drink
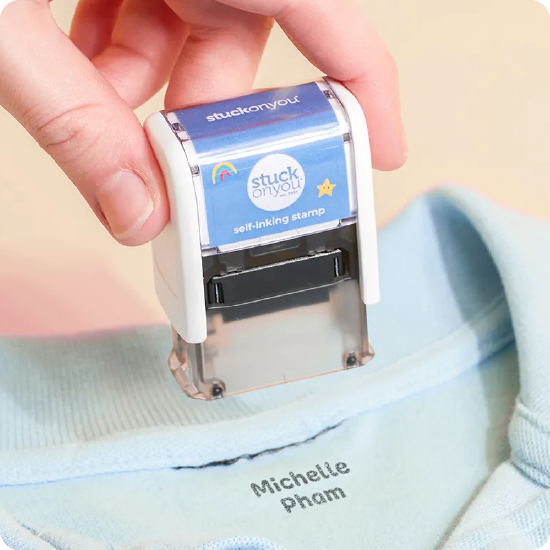
Stamps

Value Packs

Dishwasher &
microwave safe

500,000+
Satisfied Customers
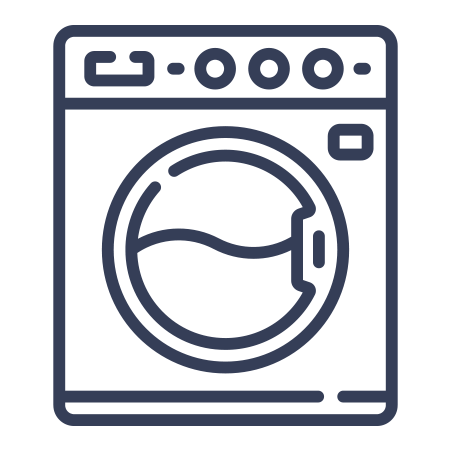
Washer &
dryer safe

Fast Delivery

100% Satisfaction
Guaranteed

Friendly Service

Trending now